If you’ve ever wanted to control a single light from two different locations, a 3-way switch is the solution. Whether it’s for a hallway, staircase, or large room, understanding how to wire a 3-way switch with power at light is a valuable skill. This guide will walk you through the process, step by step, while ensuring safety and efficiency.
What is a 3-Way Switch, and Why is Power at Light Important?
A 3-way switch allows you to control a light fixture from two separate switches. In the power at light configuration, the power source connects directly to the light fixture rather than the switch. This setup is ideal for scenarios where the electrical source is located near the lighting fixture.
Key Components of a 3-Way Switch Wiring Diagram (Power at Light)
Before we dive into the wiring process, familiarize yourself with the main components:
- Power Source: Supplies electricity to the circuit.
- Light Fixture: The controlled device.
- Switches: Two switches, each with three terminals (common and two travelers).
- Traveler Wires: Connect the two switches and enable them to work together.
- Ground Wires: For safety and compliance with electrical codes.
Tools and Materials Needed
- Wire strippers
- Screwdriver
- Voltage tester
- Electrical tape
- Wiring diagram (downloadable versions are highly recommended)
Step-by-Step Guide to Wiring a 3-Way Switch with Power at Light
Turn Off the Power
Safety first! Locate the breaker for the circuit and turn it off. Use a voltage tester to confirm no current is flowing to the wires.
Understand the Diagram
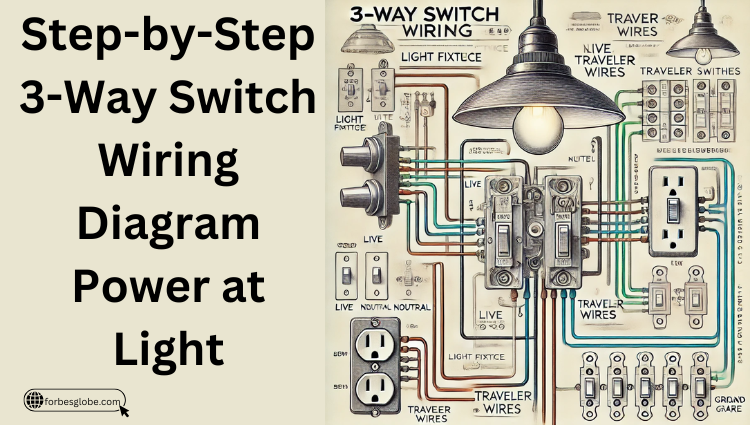
The power at light wiring diagram involves connecting the power source to the light fixture, then running traveler wires to both switches. Here’s a simplified view:
- Black Wire: Carries the live current (hot wire).
- White Wire: Neutral wire completing the circuit.
- Red Wires: Traveler wires connecting the two switches.
Make the Connections
- At the Light Fixture:
- Connect the black (hot) wire from the power source to the fixture.
- Run two traveler wires (red) from the light fixture to the first switch.
- Attach the neutral wire to the light fixture and ensure the ground is connected.
- At the Switches:
- Attach one traveler wire to each of the two traveler terminals on both switches.
- Connect the black wire from the light to the common terminal on the second switch.
Test the Circuit
Once all connections are secure, turn the breaker back on. Flip the switches to ensure the light turns on and off correctly from both locations.
Common Mistakes and How to Avoid Them
- Misidentifying Wires: Always label wires before disconnecting them.
- Loose Connections: Use wire nuts and electrical tape for secure connections.
- Skipping Grounding: Ground wires are critical for safety; don’t overlook them.
What’s the Difference Between Power at Light and Power at Switch?
In power at switch, the power source connects to the switch first, while in power at light, it connects to the light fixture. The wiring paths differ slightly, but both achieve the same functionality.
Do I Need a Professional Electrician?
If you’re confident in your skills and follow safety guidelines, DIY is possible. However, consult a licensed electrician for complex installations.
Troubleshooting Tips
- Light Won’t Turn On: Check for loose connections or incorrect traveler wiring.
- Switches Not Working Together: Ensure the traveler wires are correctly connected to the terminals.
- Flickering Lights: This could indicate a poor connection or incompatible bulbs.
Also Check: Why Choose the Delmag D-80 Hammer for Your Projects
FAQs
Can I Use LED Lights With This Setup?
Yes, ensure the switches and bulbs are LED-compatible, especially for dimming features.
What’s the Main Difference Between Power at Light and Power at Switch?
In power at light, the power source connects directly to the light. In power at switch, it connects to the first switch before the light fixture.
Do I Need Special Tools for This Project?
No, basic tools like wire strippers, screwdrivers, and a voltage tester will suffice.
What If the Light Doesn’t Turn On After Wiring?
Check for loose connections, ensure traveler wires are correctly installed, and confirm the breaker is on.
Is This Project DIY-Friendly?
Yes, for those with basic electrical knowledge. Otherwise, consult a licensed electrician for safety.
Conclusion
Wiring a 3-way switch with power at light might seem complex at first, but with the right tools, diagram, and safety precautions, it’s a manageable project. This setup is particularly useful for areas where the power source is closer to the light fixture.
By understanding the wiring diagram and following the steps outlined, you can achieve a functional and safe installation. If you have questions or run into issues, feel free to consult a professional or refer to additional resources.


